F&D Start to Finish: How to Install Stone Ledger on a Wall
Follow this easy step-by-step guide to create a stylish new look!
Are you considering installing stone ledger on a wall?
Follow this easy step-by-step guide to create a stylish new look!
What Will I Need?
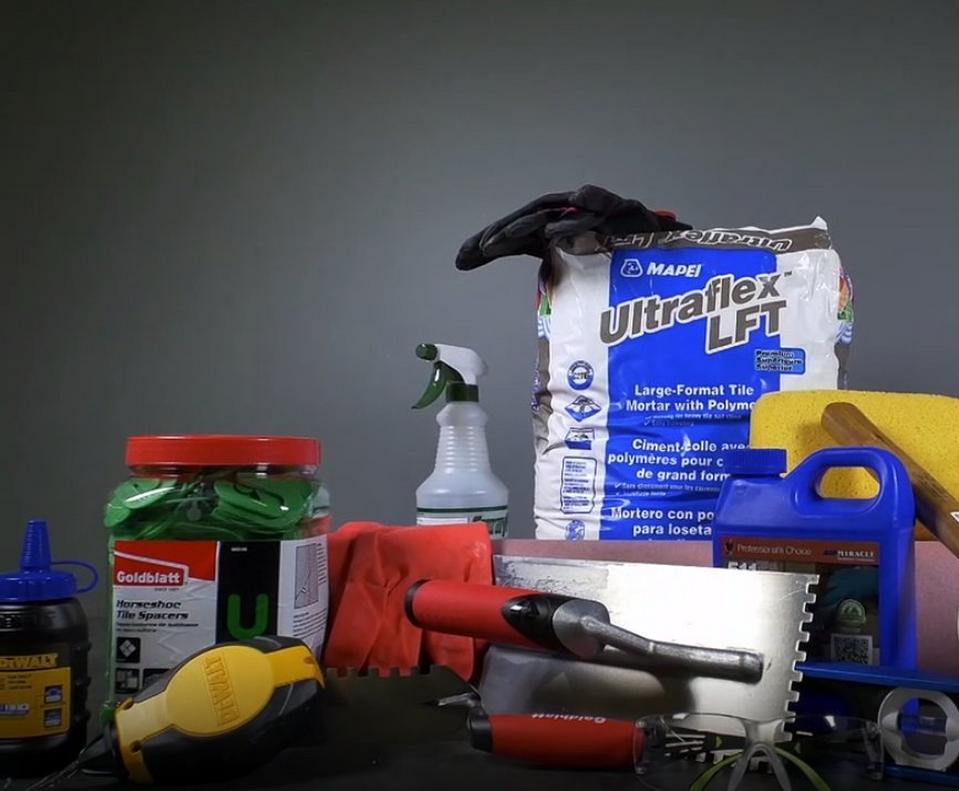
To install stone ledger, you’ll need to following items.
- Trowel (1/2” x ½”)
- Wet Tile Saw
- Large heavy cement mortar
- Tile Spacers (1/16 – 1/8)
- Penetrating Sealer
- ½” backer board
- Drill and screws
- Rubi mixing paddle
- Floor covering such as red rosin paper
- Sponge and water
- Tape measure
Prep!
Prepare your space by covering the floor for protection. Since stone leger is heavy, install ½” backer board over the sheetrock, making sure to screw into the wall studs.
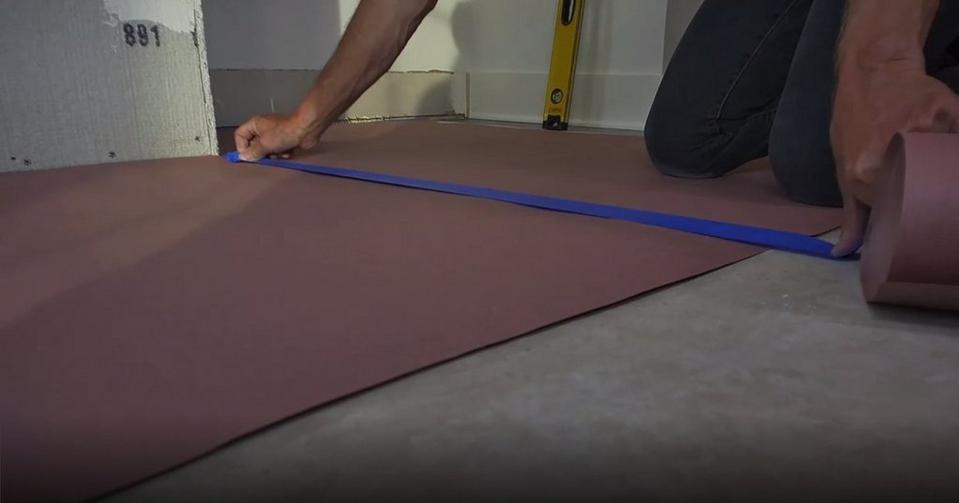
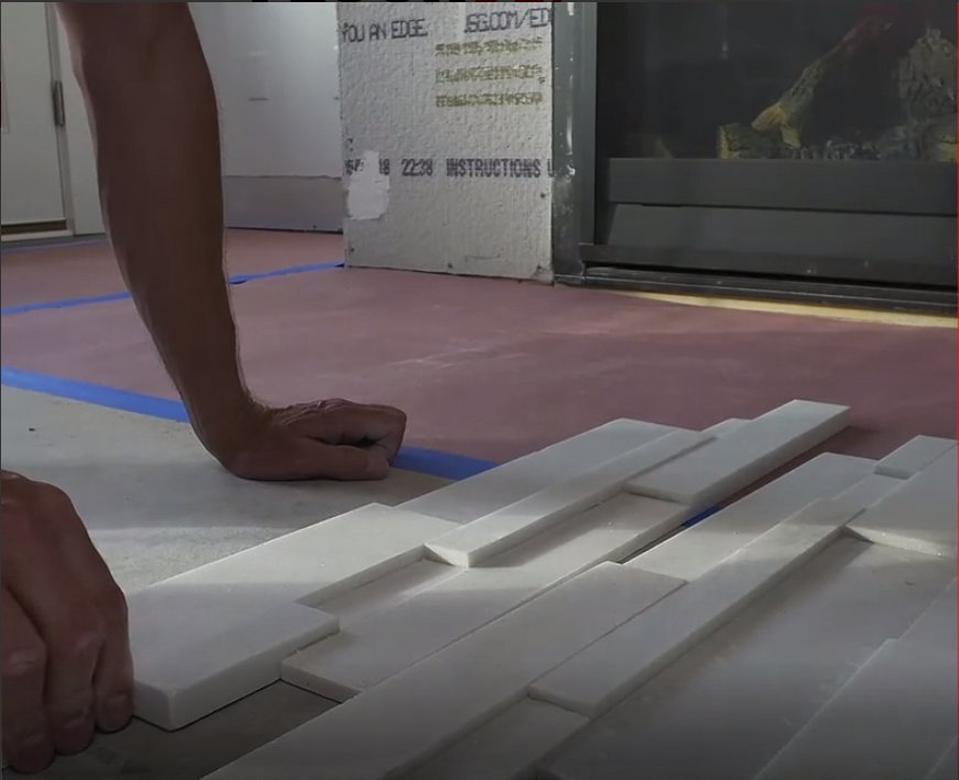
For a perfect fit, measure and dry lay the stone ledger before making a level chalk line on the wall where the first ledger will be placed. Horseshoe spacers can also help ensure the ledgers are level.
Mix the Mortar!
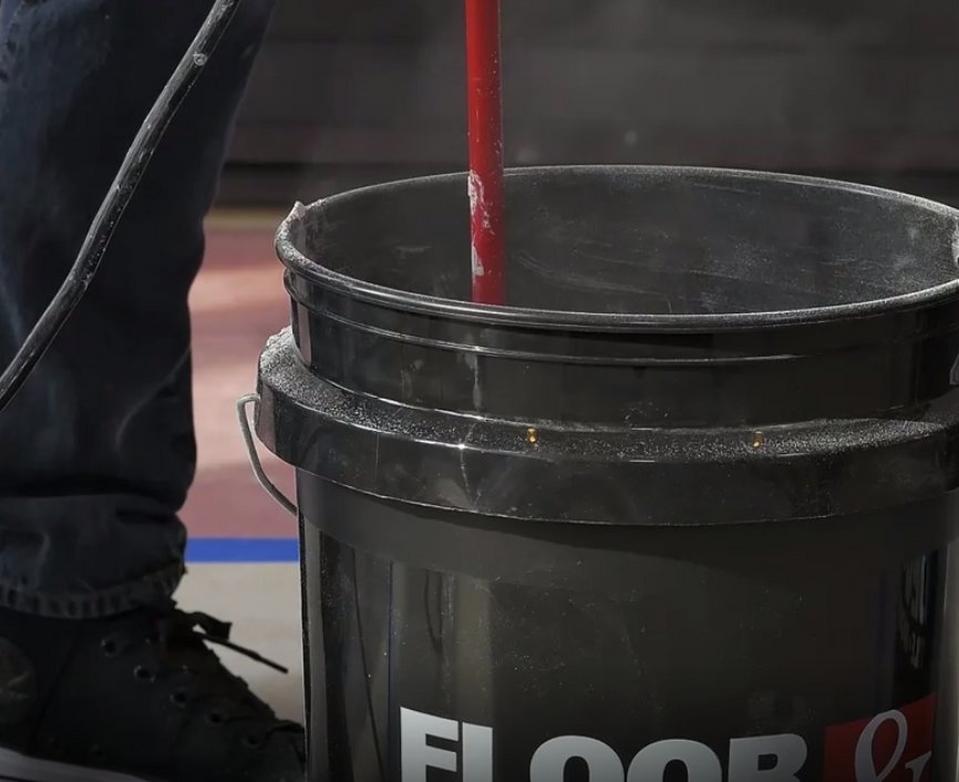
After reading all of the instructions, mix the proper ratio of mortar and water together in a bucket, using a Rubi paddle set to low RPM with high torque. The mixture should be the consistency of creamy peanut butter.
Install!
Damp sponge the backer board and ledger before and during install to ensure that the mortar will adhere to the surface.
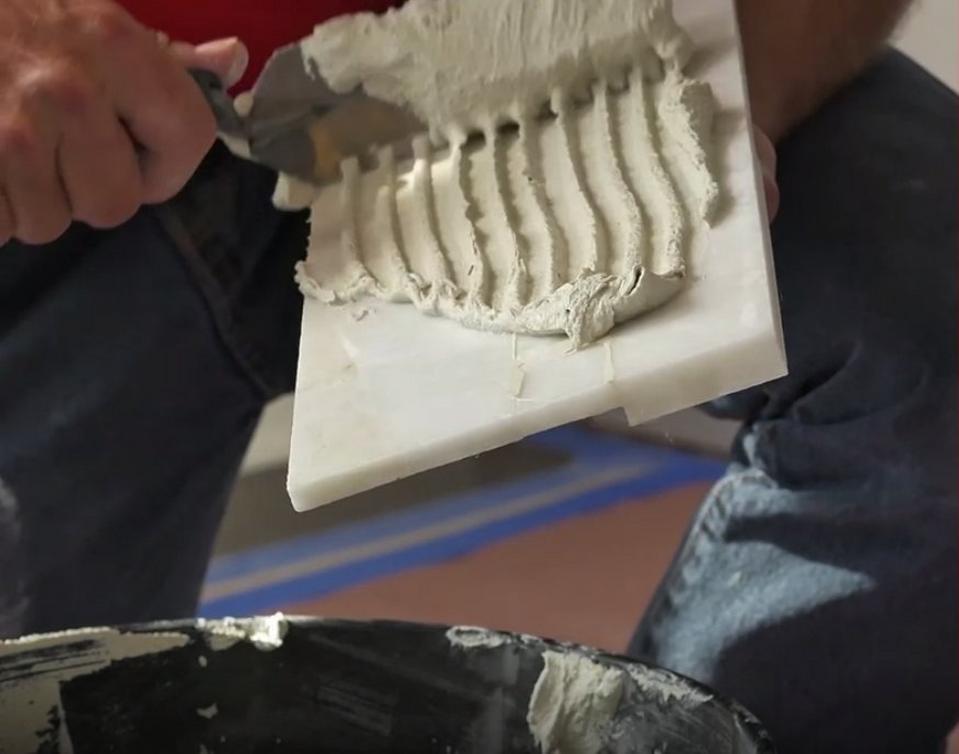
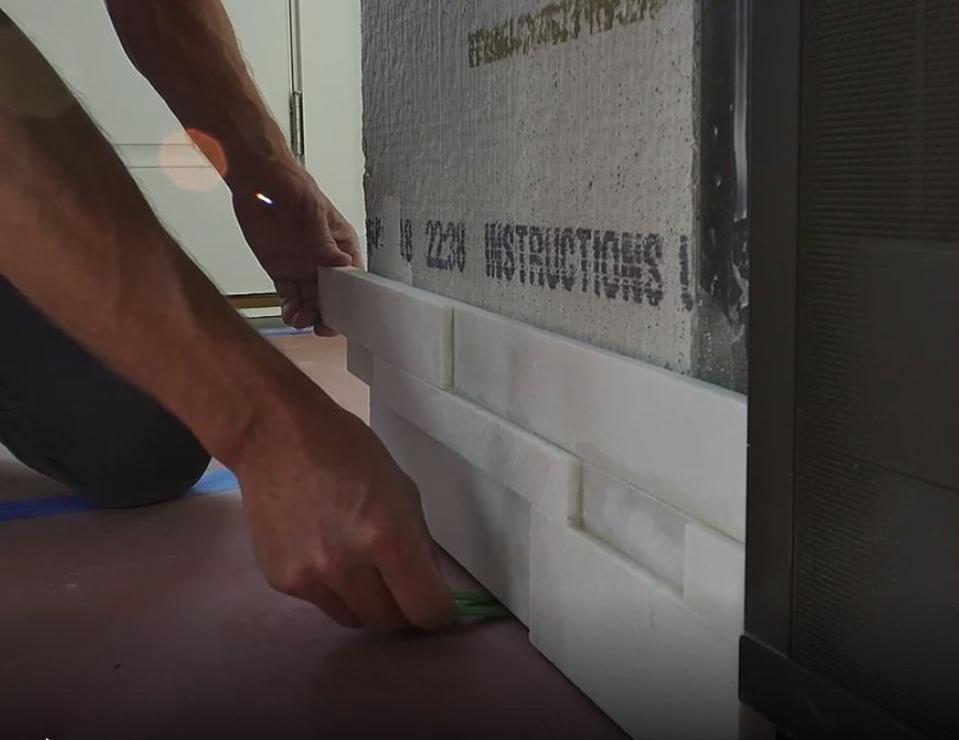
Back-butter the stone ledger using the notched side of a trowel. Begin at the bottom of the wall, working left to right, gently tapping with a mallet after each placement. Level with spacers if needed.
Complete the first row and repeat, always beginning on the left side or corner ledger. No grout is needed for stone ledger. Let stone set for 24 hours.
Seal!
Spray Miracle Enhancing Sealer directly on the wall to seal the stone and allow to dry for one hour.
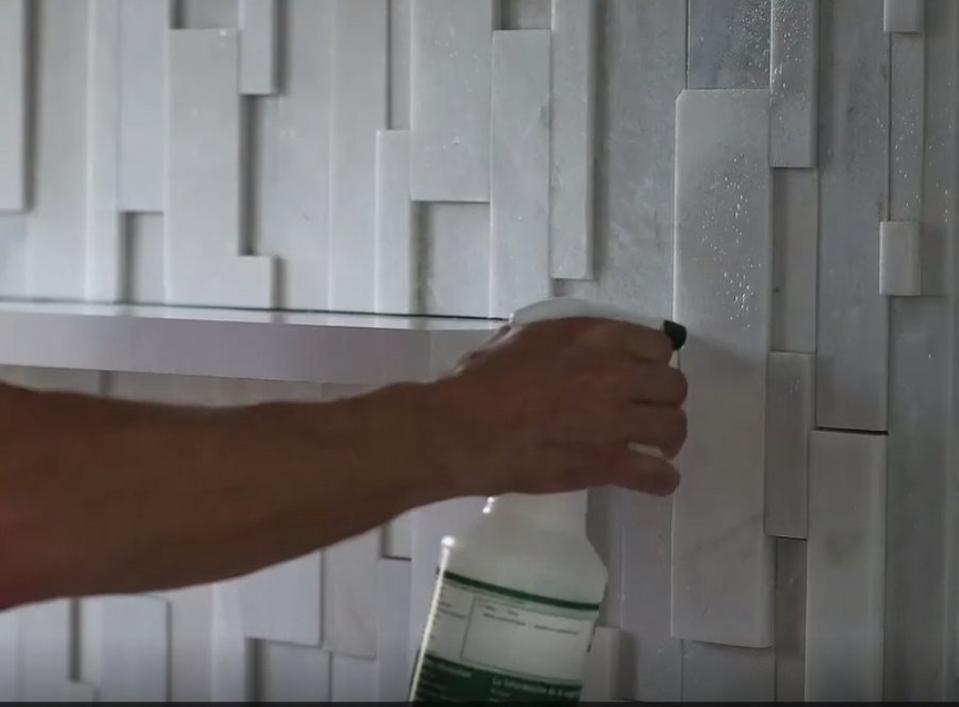
Before you know it, you will have built a beautiful new stone ledger wall!
For a variety of other DIY-friendly floor and wall options, visit your local Floor & Decor or at flooranddecor.com.
Watch the full video to see these installation tips in action:

